The PrestaShop Test Framework
Why this will make development easier
Last time we announced a new suite of functional tests to ensure our software quality, today we are proud to present you our new feature, the PrestaShop Test Framework!
It is a cool toolkit like a Swiss knife which will help to save a lot of time by running at least 50 automated functional tests on your browser… and this is only the beginning! It makes easier to create basic acceptance testing when adding Addons, submitting pull requests or making some customizations on your Prestashop.
“So many ways… the only limit is your imagination”
This project is based on the famous feature-rich JavaScript test framework Mocha running on Node.js and making asynchronous testing. This new feature has been initially used by (and recently included in) Prestashop in order to improve the quality of regular implementations. And after some interesting modifications, we are proud to present the details below!
Introduction to PrestaShop Testing Framework
You’ve just written a feature and (hopefully) want to test it. Or you’ve decided that an existing feature doesn’t have enough tests and want to contribute some. But where and how do you start? Let’s make PrestaShop testing easier and resilient together!
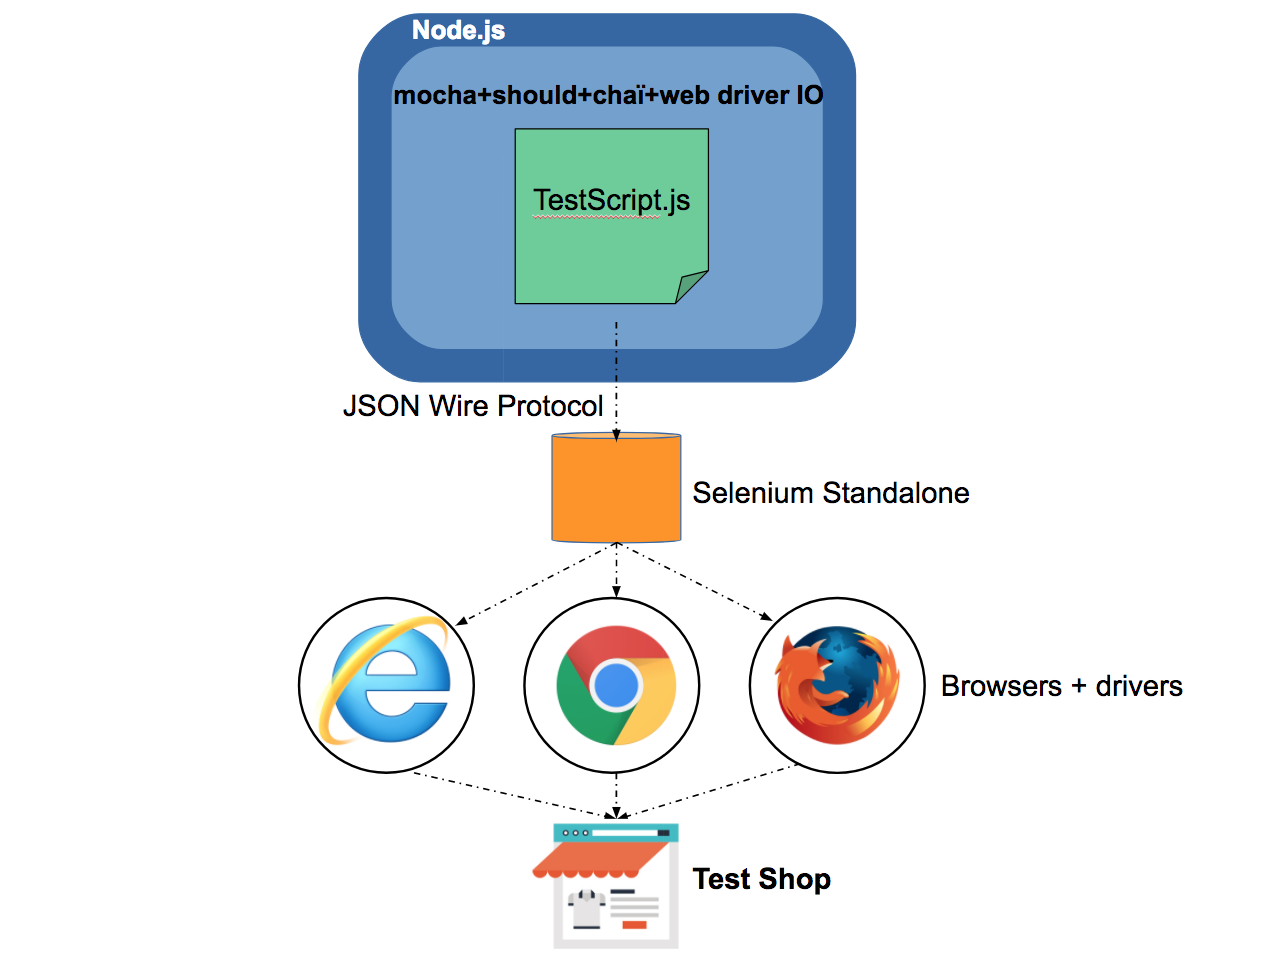
Architecture
Let’s see how do the technologies work together for local setup, with the local Selenium setup - note that all softwares run on your local computer :
- Node runs Mocha framework and all test scripts
- Should is the assertion library & Chaï is the BDD assertion library
- WebdriverIO communicates with Selenium Server using JSON Wire Protocol
- Selenium Server invokes local browser using a driver to test our shop
Configuration
To run these tests you have to install Node.js, Npm, Java and Google Chrome.
To use the following test suites, you need to install PrestaShop in English with setting country to France (or you may change some assertions like the separator “,” or “.”, “€” or “$” or “£” or …). You need to create a user in Back Office with SuperAdmin rights and the following information:
Login: [email protected]
Password: prestashop_demo
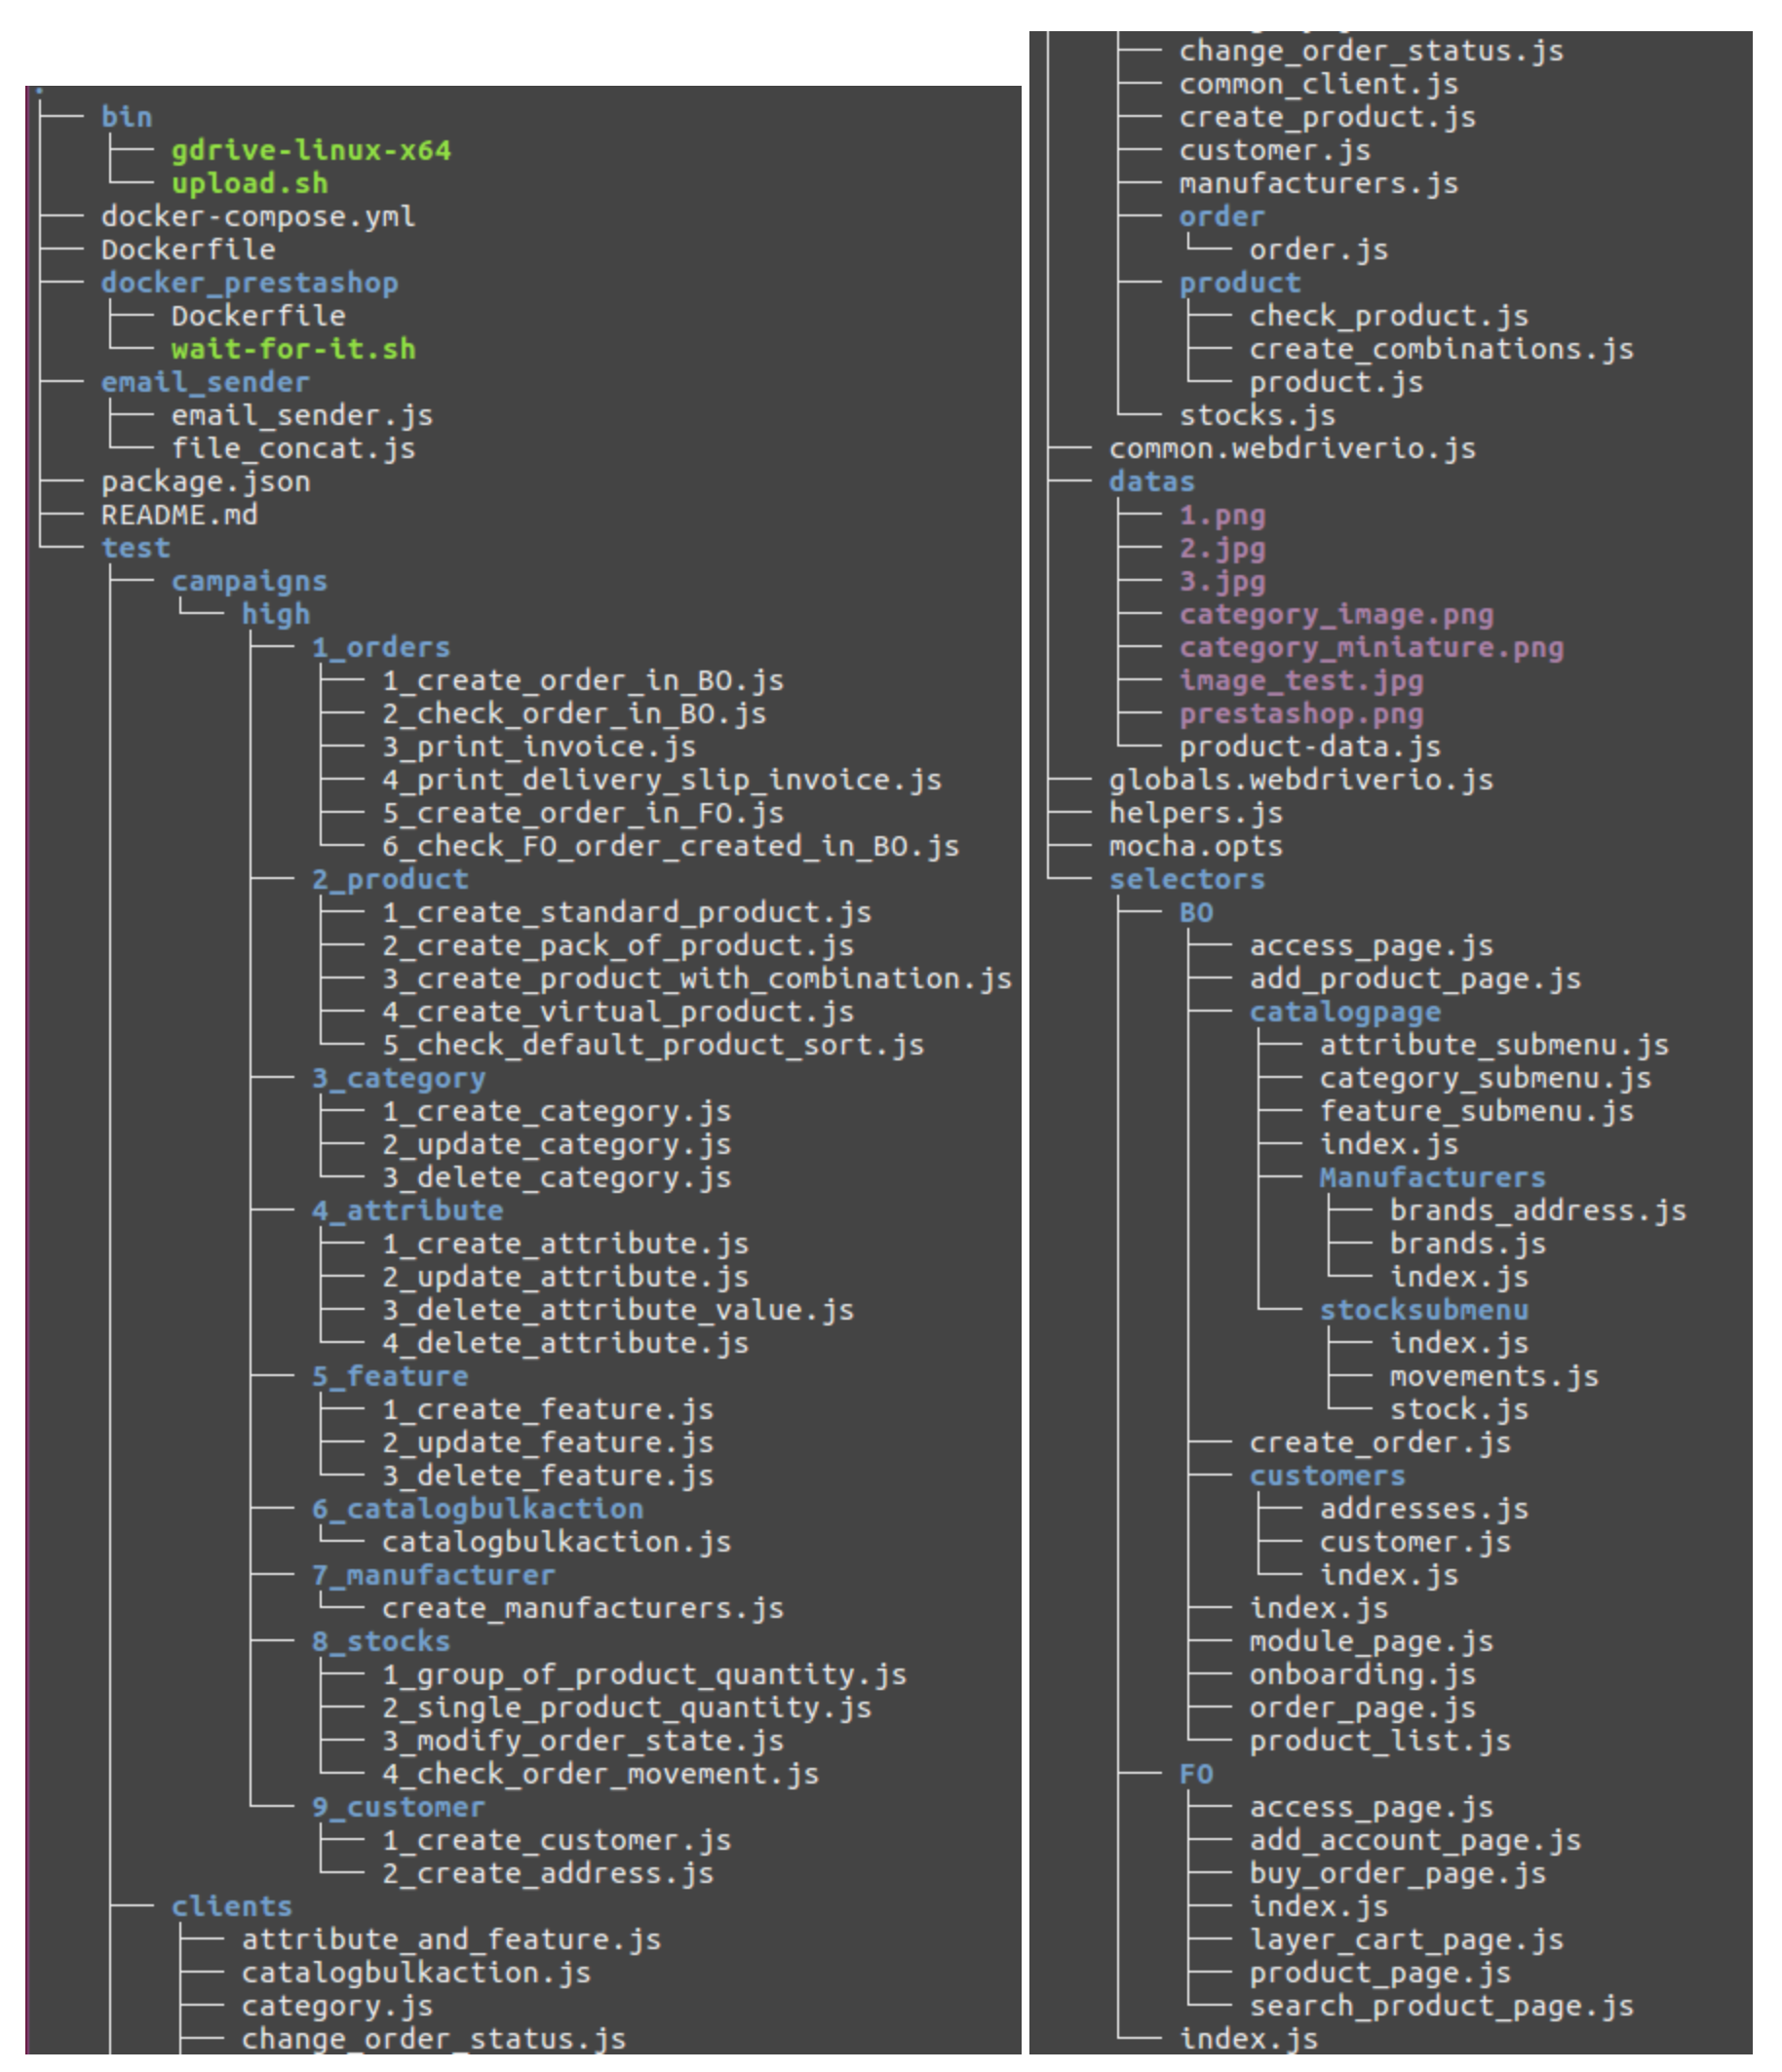
Look at <prestashop_root_dir>/tests/E2E/ directory, this is where the test automation project is located!
Installation
To install this awesome framework, you just have to this simple command on the root directory of the functional tests:
➜ cd tests/E2E
➜ npm install
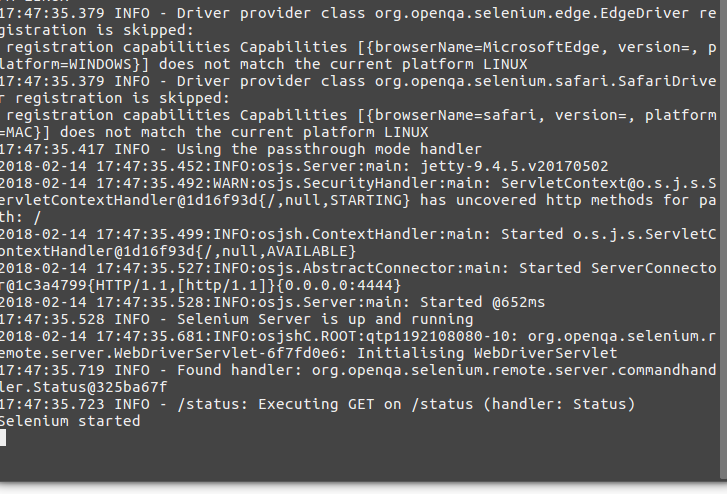
Launch Selenium-standalone with this command:
➜ npm run start-selenium
➜ npm run high-test -- --URL=FrontOfficeURL --DIR=DownloadDirectory
URL: Front office URL of your Prestashop website (without the “http://”)
DIR: Your download directory (exp: /home/toto/Downloads/) so we can check the downloaded invoice
If you want to run test only on specific parts (for example products), you have to run this command:
➜ path=high/02_product npm run specific-test -- --URL=FrontOfficeURL
Create a test
This basic suite of tests cover the CRUD functionality for the simple entities (CRUD is an abbreviation for “create”, “read”, “update” and “delete” actions).
All the power of tests in the JS
Create a script_scenario.js located in \tests\E2E\test\campaigns\high\custom_directory\ - in a new directory, or choose a category if you want to complete some tests in BDD style (Behavior Driven Development). But before continuing, let’s see an example of how it appears in the code:
scenario(‘Create Standard Product in the Back Office’, client => {
test(‘should open browser’, () => client.open());
test(‘should log in successfully in BO’, () => client.signInBO(AccessPageBO));
test(‘should go to “Catalog”’, () => client.waitForExistAndClick(AddProductPage.products_subtab));
test(‘should click on “NEW PRODUCT”’, () => client.waitForExistAndClick(AddProductPage.new_product_button));
});
As you can see, every line calls to action scripted in client file located in \tests\E2E\test\clients.
Conclusion
These technologies worked much better than we expected, however there was learning curve involved. Once understood how all the components worked together, everybody is able to write complicated test scripts in a very short time.
For our part, using these technologies has definitely motivated us to sharpen our JavaScript skills so we hope you’ll find this article useful and motivating to contribute all together and to build a more reliable solution.
Please let us know if you have any questions or comments on this test automation framework.
From QA with love!