Parent/Child theme feature in PrestaShop 1.7
Luke, I am your father
Documentation available!
Make sure to check the latest documentation on how the parent-child theme feature works in PrestaShop.There is a feature introduced in PrestaShop 1.7.0 that we would like to dive back in: the child theme feature!
PrestaShop 1.7 introduced a whole new way of working with themes, and with it came the possibility to have parent/child themes. It was a late addition to PrestaShop 1.7 – kind of a bonus! So, let’s talk about this child theme feature and how you can use it to customize themes more easily.
What is it?
If we’re talking about child themes, it means that we have a parent one 😉
The parent theme is a full and independent theme that can work alone, whereas the child theme needs the parent one to work. We can see the child theme as an extension of its parent, meaning that without any modification, the child theme will be the same as its parent.
What’s the benefit?
Let’s say that you find a theme you like but you want to make some adjustments. Before the 1.7 version, you had to edit the theme files directly, which meant that when you want to update your theme to a new version, you lost your customizations. Of course, you could also apply each change manually on your theme. Which isn’t convenient AT ALL.
Now, if you want to make changes to a theme you bought, you simply need to create a child theme, and apply your changes there. That way, the parent theme will remain untouched and you’ll be able to update it easily. Please, note that you may still encounter some issues if the parent theme’s structure has changed in between updates - but fixing them will be much easier than reporting your modifications.
Using a child theme can also speed up the development time as you’ll only include in your files what you’re changing or adding, and not the complete code.
How to use it?
Set-up
In order to create a child theme, you need to make sure the parent one is in your PrestaShop /themes folder.
Then, create a new folder with a different name containing only the following files:
.
├── config/
│   ├── theme.yml
└── preview.png
Once you have this, you just need to add two entries in your child theme’s theme.yml:
-
parent: to set the theme that should be used as a parent. The value must be the theme’s technical name (i.e.: the theme’s folder name).
-
use_parent_assets: a sub entry to
assetsto set if you want to use the CSS and JS files from the parent (true) or not (false).
parent: classic
name: childtheme
display_name: My first child Theme
version: 1.0.0
assets:
  use_parent_assets: true
Once this file is in place, you can go ahead and select this theme in your back office: you’re all set.
Template inheritance
In a previous article, we already talked about extending templates within the same theme introduced in 1.7.0.0. But you can also extend template files from another theme.
With the theme.yml configuration above, your child theme will use every template from the parent theme. There are two ways to enjoy the feature of extending templates from another theme: either by modifying only the blocks you want to edit, or by modifying the whole template structure.
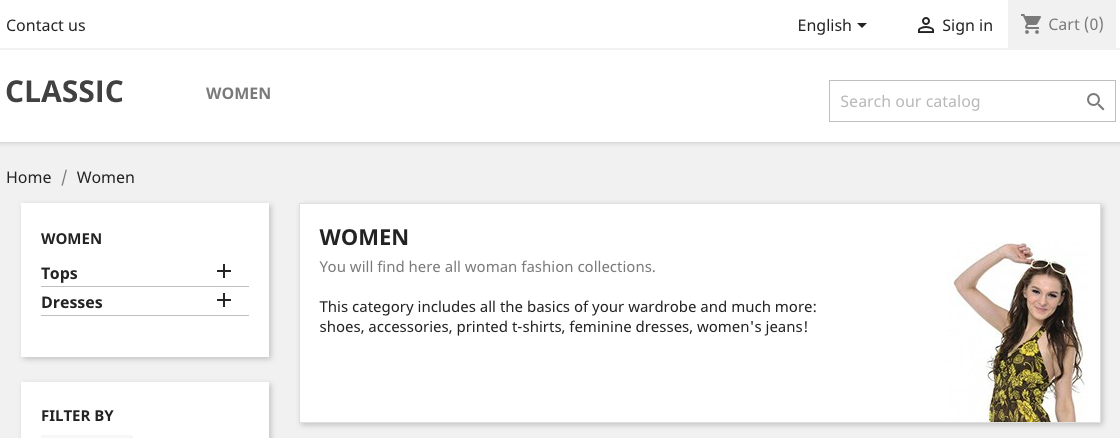
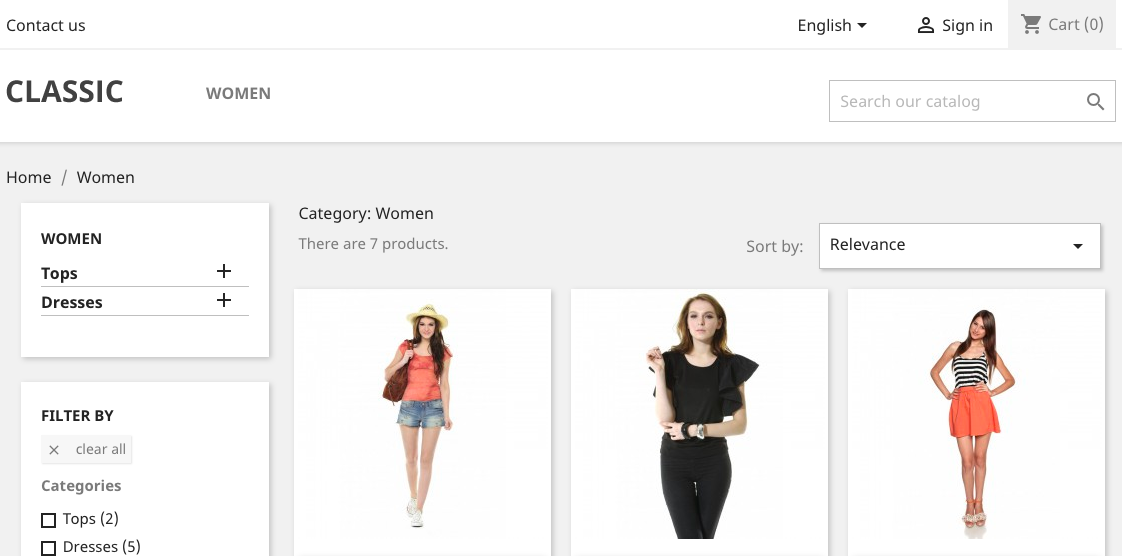
Here’s an example where we modify the category template. First, you should create the category template in your child theme: templates/catalog/listing/category.tpl.
Modifying some blocks
Extend the template you want to modify in your parent theme and define just the block you need. You need to add the parent: keyword (as you can see in the example below) to indicate that the template comes from the parent theme.
{extends file='parent:catalog/listing/category.tpl'}

Modifying the whole template structure
At this point you can do anything you want with this template but most likely you’ll still want to extend the product-list template. If so, you don’t have to copy the product-list template to your child theme, PrestaShop will use the parent file.
Extend product-list the normal way and override the block you need. Let’s say you want to change the product_list_header block:
{extends file='catalog/listing/product-list.tpl'}
{block name='product_list_header'}
  <div class="title">{$listing.label}</div>
{/block}

Going further
You can also create new template files. Then, follow the previous methods of extension and include your file into one of the block of the file you’re extending.
Translations
In your child theme, templates can fall into 3 categories:
-
You are using strings that exist in the default theme (Classic)
Just re-use the strings as-is, with the same domain, and it will automatically be translated (when a translation is available in PrestaShop) -
You are using strings that exist in the parent theme
Unfortunately, for now, the translations are not shared between parent and child theme (but we’re working on it!). You need to translate it again, following method 3 (below). -
You are creating new strings
- Use a custom domain for the new strings
- Export the language from the translation page
- Copy the file into the translation file of your theme
- Translate the new strings using the translation page
If you need more details on how to translate a theme, don’t hesitate to have a look at our dedicated article.
Things to remember
With the parent/child theme feature we wanted to make easier to customize and update the theme.
It is now quicker to tweak your theme, since you only have the modified templates into the child theme directory.
And you can now update your parent theme to get the latest fixes, without losing your customizations! Have a look and test our little demo of a child theme of Classic here: https://github.com/PrestaShop/childtheme-example
Tell us how you’ve been using the child theme feature and/or if you have any comment!
